Mrs. Claus Cookies
These Mrs. Claus cookies are soft, buttery, and full of holiday charm without being heavy on calories. The sweet white chocolate accents make them as fun to decorate as they are to eat. Each bite brings a light crispness followed by a gentle melt-in-your-mouth texture.

These cookies start with a lightened dough made using light butter and reduced-sugar sweeteners, which cuts the calories while keeping the richness you expect from holiday baking. Using Lily’s white chocolate instead of regular helps keep sugar low while still giving you that creamy, sweet finish.
The decorating process turns the cookies into a festive craft session. Red and yellow food coloring bring Mrs. Claus’s hat and glasses to life, while a few chocolate chips transform into her eyes.
You can prepare the dough ahead of time, chill it, and bake when ready. Decorating can be done the same day or even the next, making these a flexible holiday baking project for busy schedules.
Ingredients
Here is a quick look at what you will need. You can find the full measurements in the recipe card below.
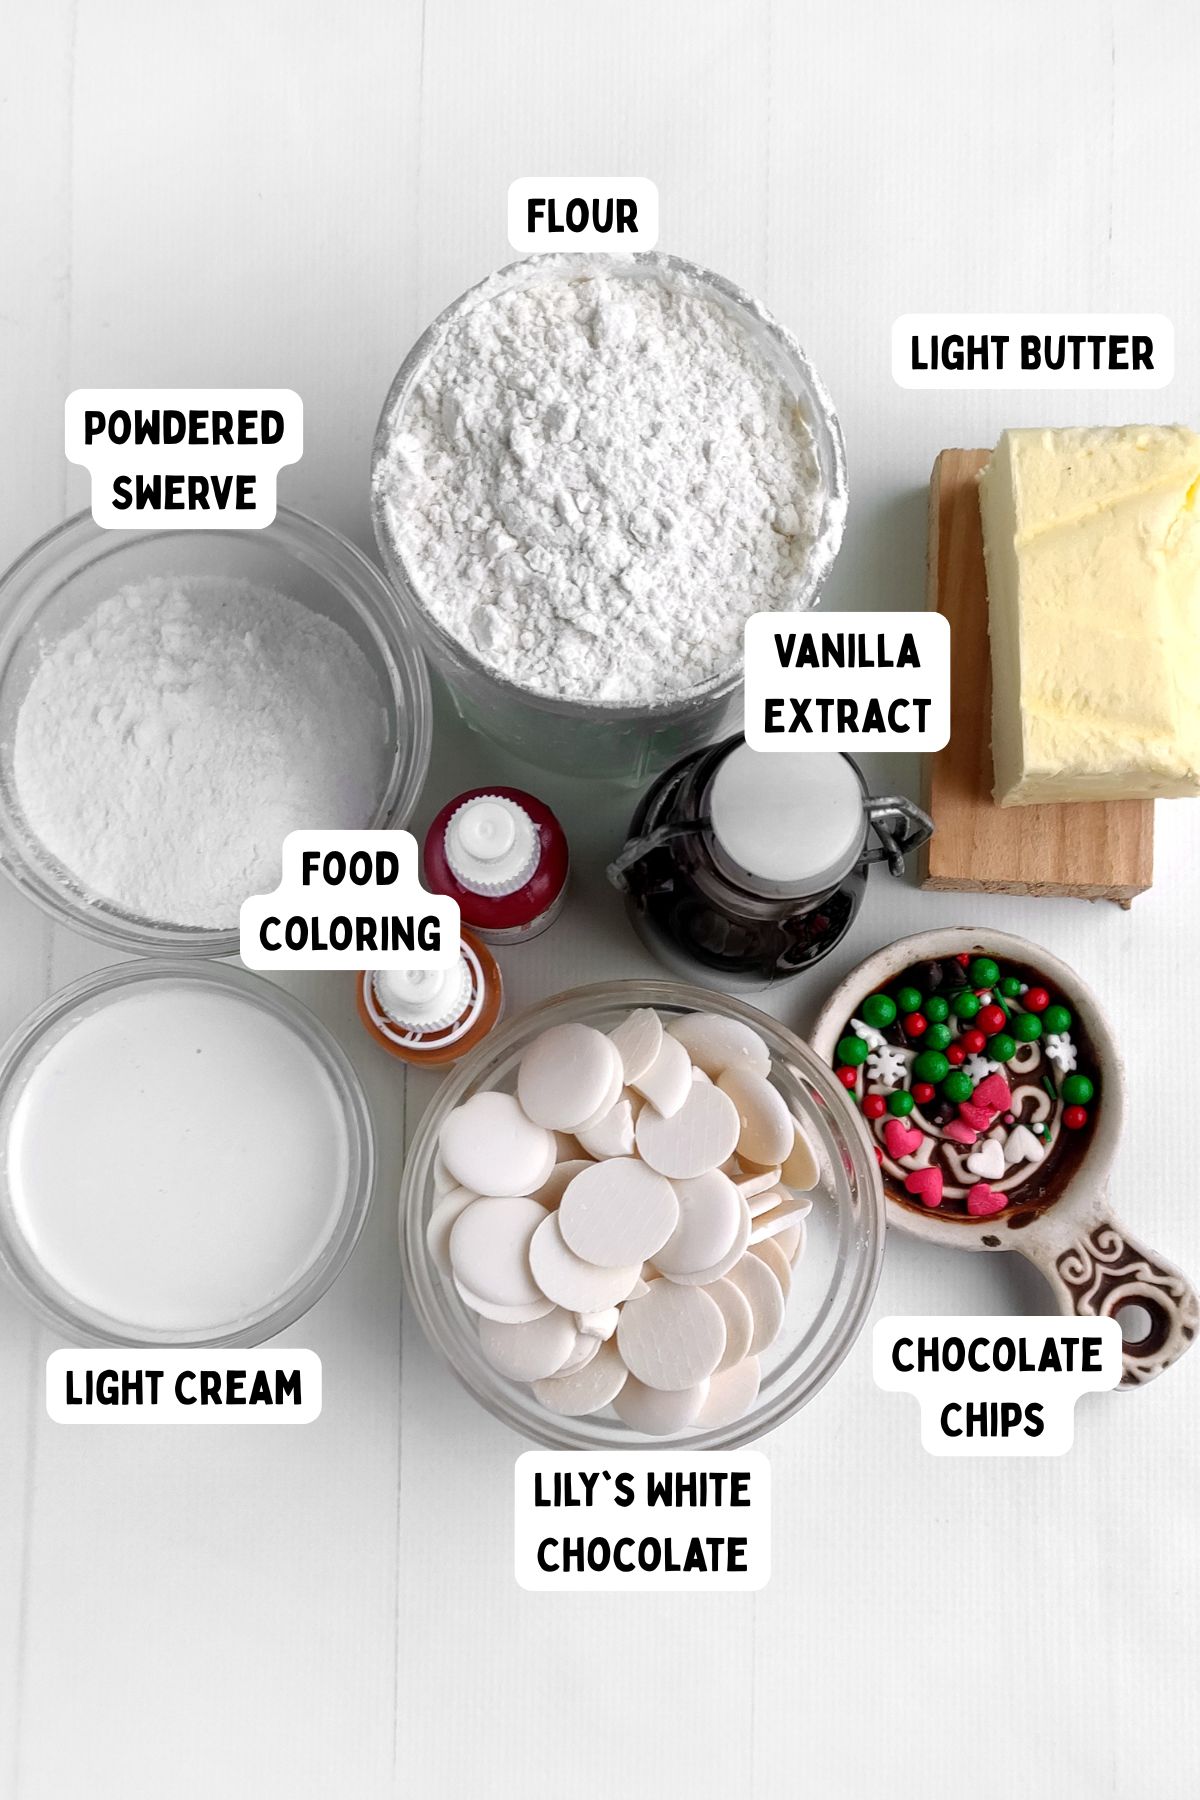
- Light Butter: Keeps the dough soft and rich with fewer calories than full-fat butter. It melts quickly, blending easily with other ingredients for a smooth base. Adds a mild creaminess to every bite.
- Salt: Balances sweetness and enhances the buttery flavor of the dough. A small amount is enough to deepen the taste. Brings out the notes of chocolate in the decorations.
- Lily’s White Chocolate: Sugar-free and creamy, it melts beautifully for decorating. Adds a luxurious sweetness without the sugar spike. Works well for coloring with food dyes.
- Powdered Swerve: A low-calorie powdered sweetener that replaces sugar 1:1. Gives the dough a tender crumb. Dissolves smoothly, making it great for both mixing and frosting.
- Vanilla Extract: Adds warmth and depth to the cookies. Enhances the chocolate and buttery flavors. A little goes a long way.
- Light Cream: Softens the dough and keeps it moist. Blends well with vanilla for a creamy base. Helps create a smooth texture for rolling.
- Food Coloring (Red and Yellow): Red for Mrs. Claus’s hat and yellow for her glasses. Bright colors make the cookies pop visually. Gel coloring works best for rich tones.
- Chocolate Chips: Used for the eyes, adding texture and a little chocolate flavor. Hold their shape after baking. Also help anchor the decorations in place.
See recipe card for quantities.
How to Make
This is a quick overview of the steps. See the Recipe card below for the rest.

Step 1: Melt the butter in the microwave. Mix with powdered Swerve and salt. Add vanilla extract and light cream, then slowly work in the flour. Start mixing with a spoon, then knead on a lightly floured board until smooth.
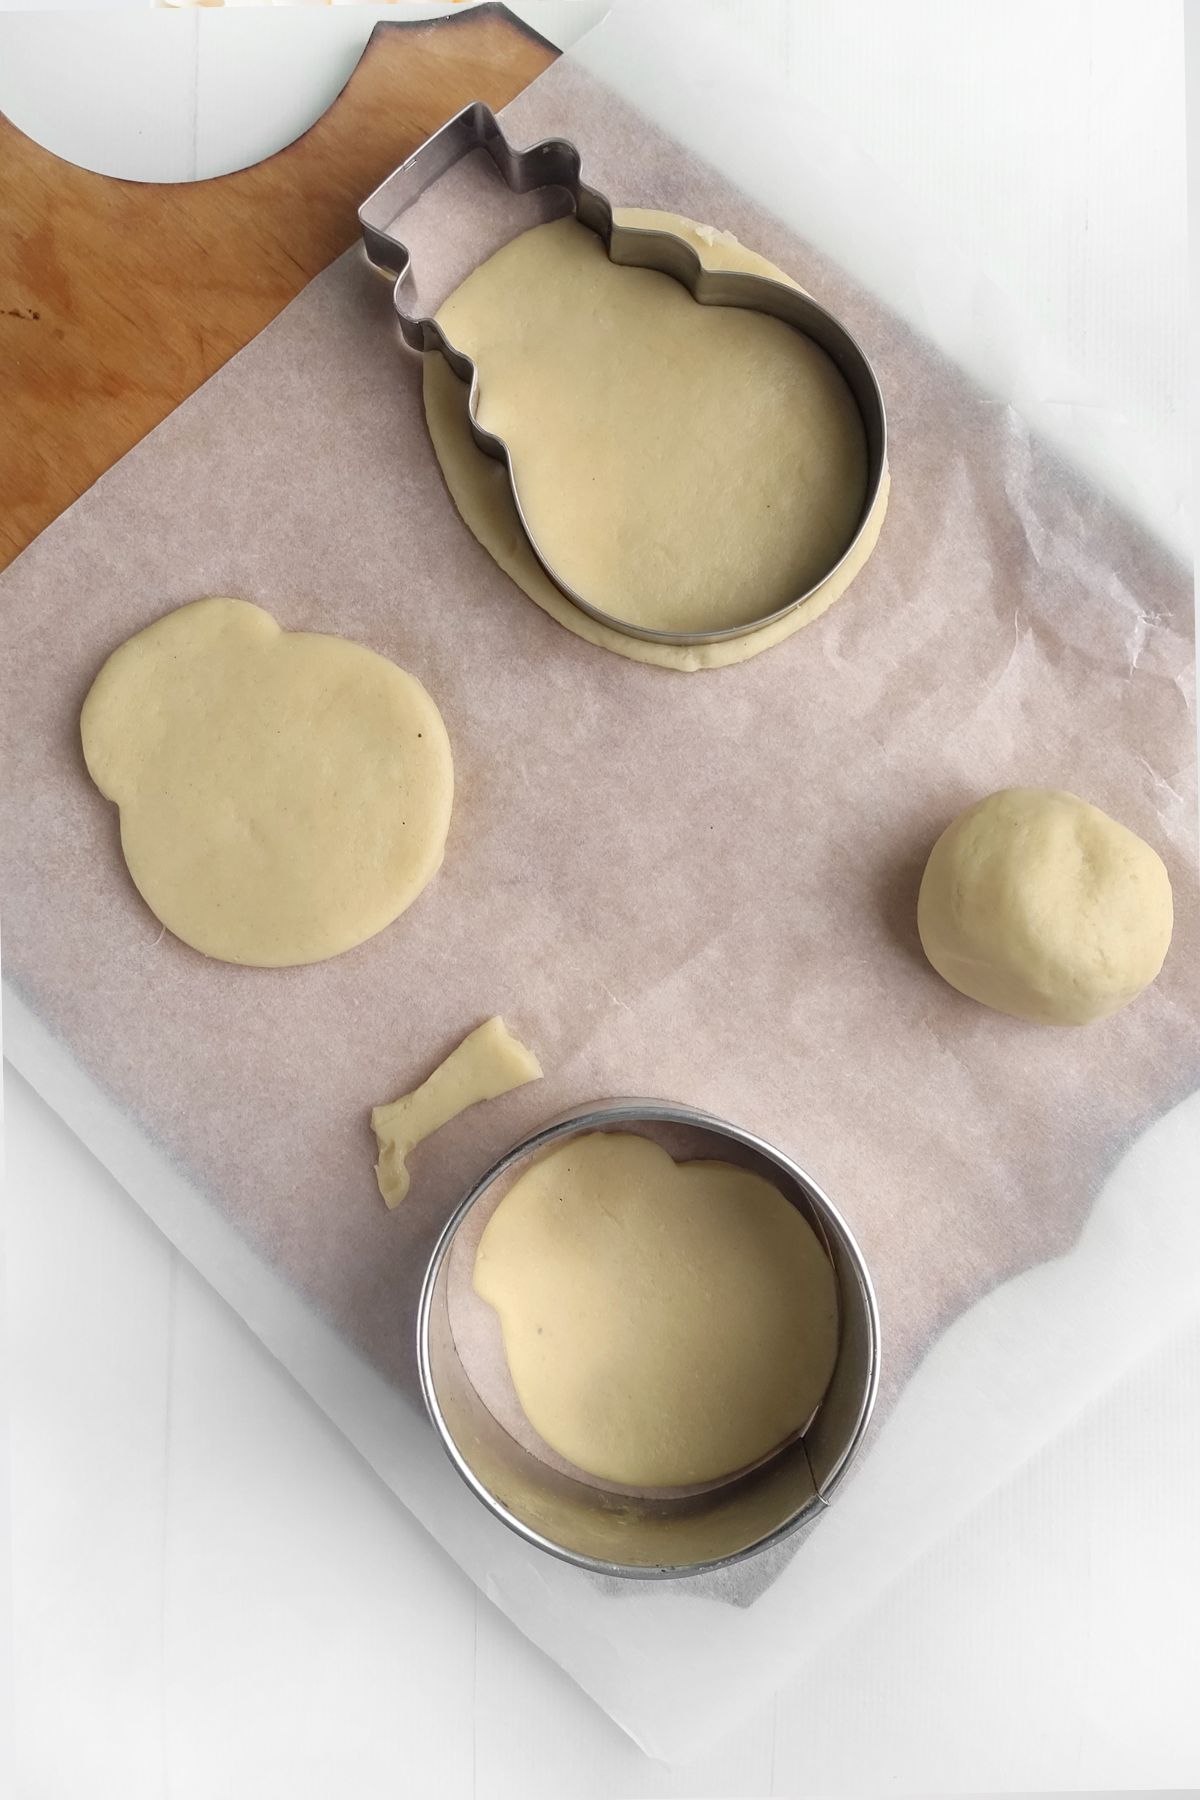
Step 2: Divide the dough into 4 equal parts. Shape cookies directly on baking parchment. Roll each portion into a ball, flatten to 1/4 inch, and cut with a snowman cutter for Mrs. Claus’s base. Trim edges with a round cutter.

Step 3: Bake until lightly golden. Cool completely. Melt a portion of white chocolate and tint red. Outline and fill Mrs. Claus’s hat.
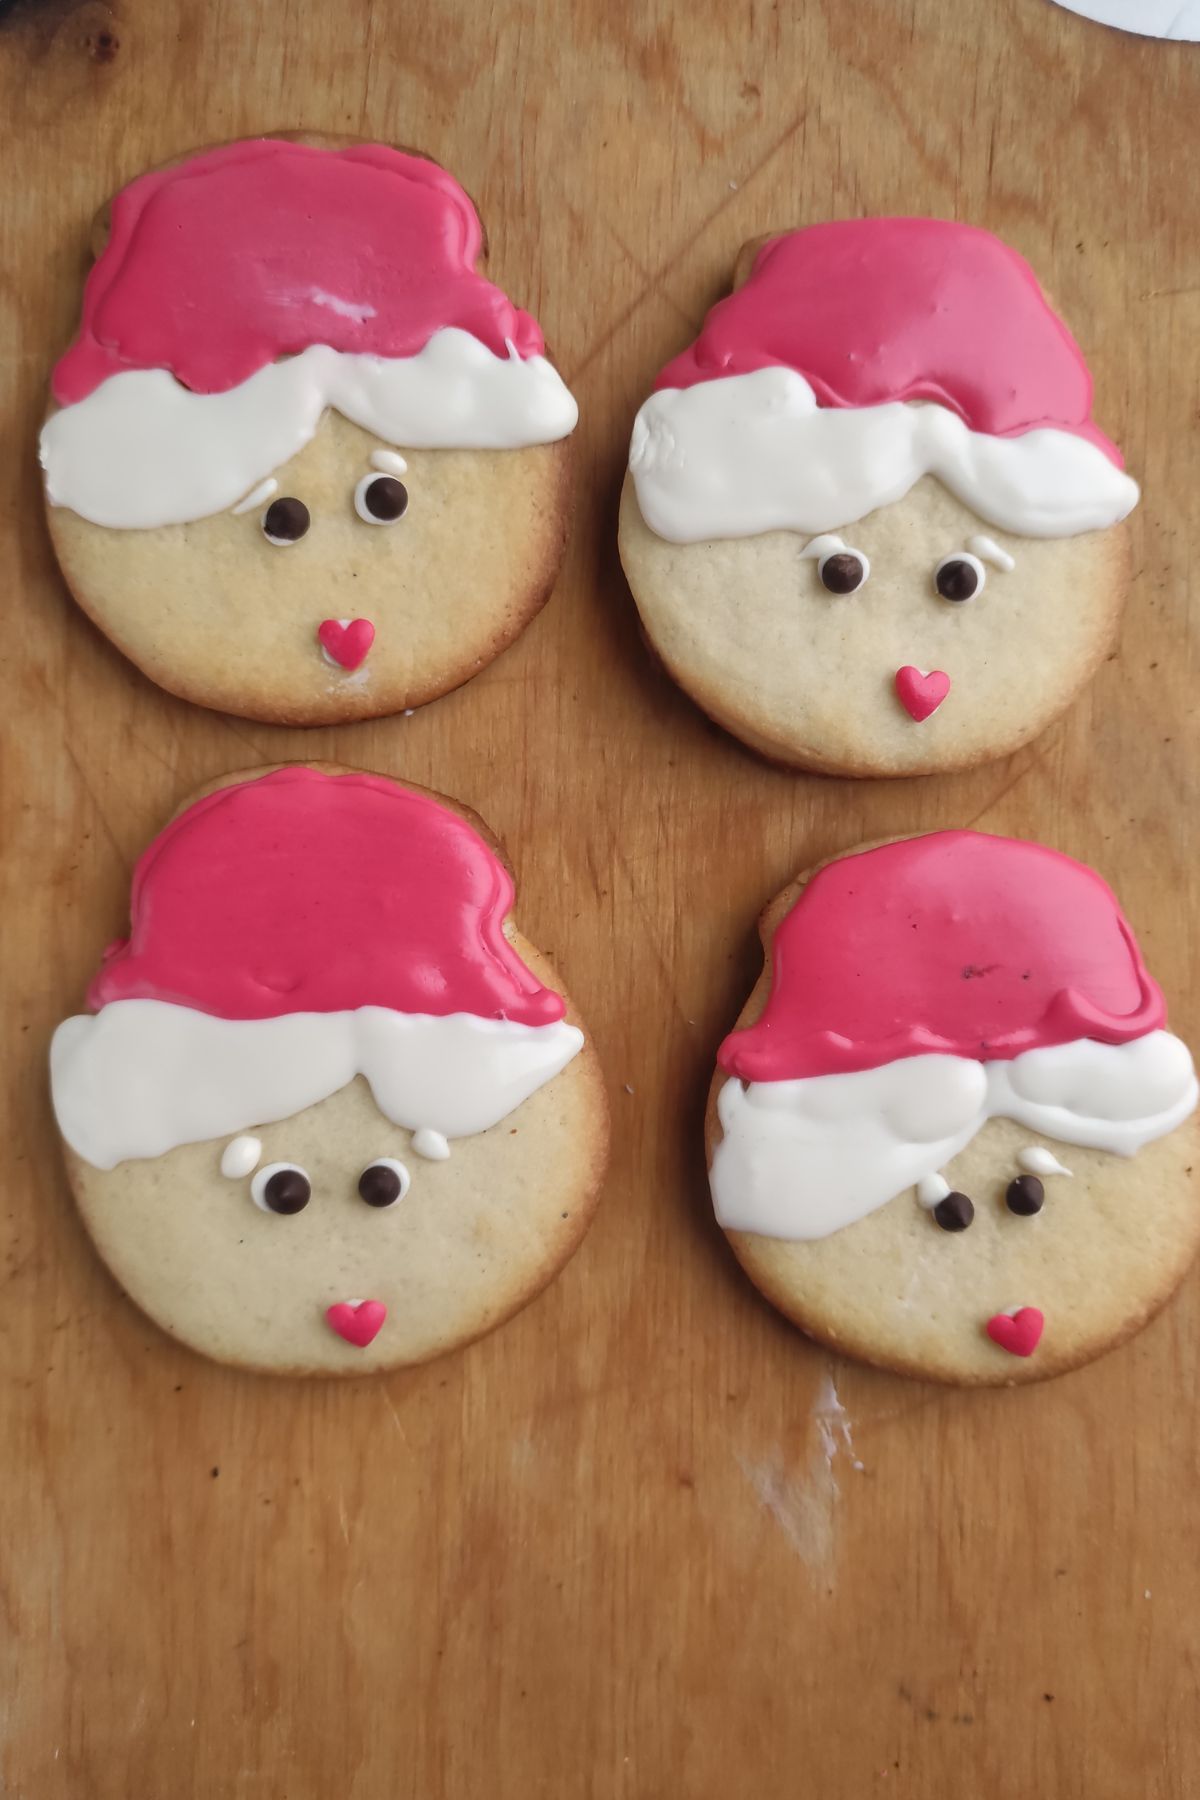
Step 4: Melt remaining chocolate for hair and eyebrows, using chocolate chips for the eyes. Add a mouth with red-tinted chocolate. Tint some chocolate yellow for glasses, piping them carefully. Refrigerate for 30 minutes to set.
Variations and Substitutions
Serving Suggestions
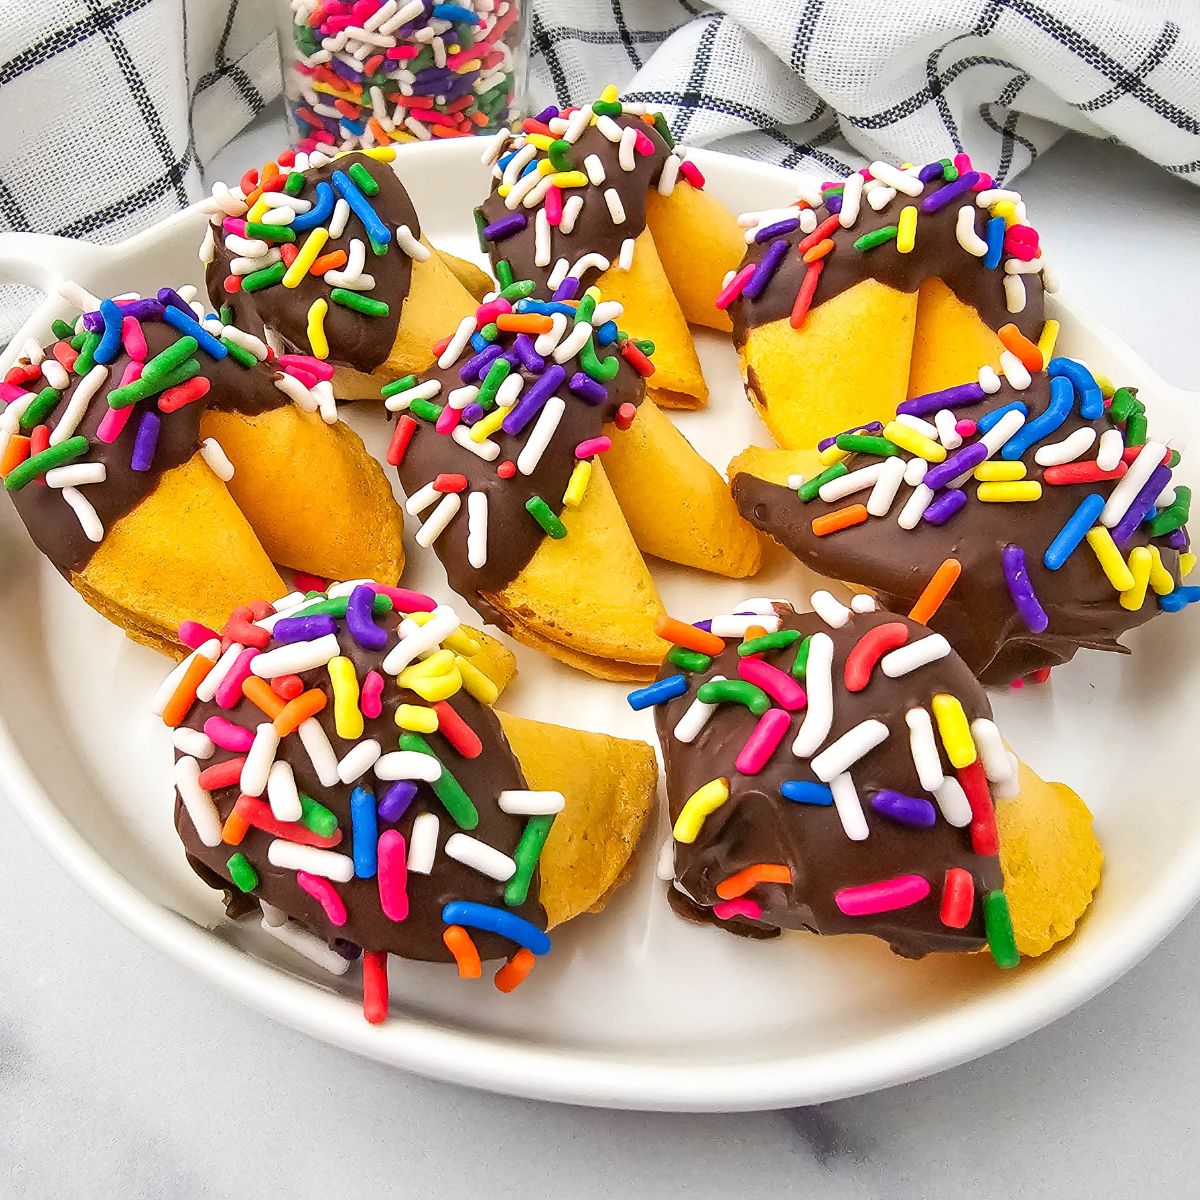
- Arrange on a holiday dessert platter with Chocolate Covered Fortune Cookies for a colorful mix.
- Serve alongside hot cocoa for a cozy winter treat.
- Add to a holiday Charcuterie Skewers or a charcuterie board with nuts, berries, and mini marshmallows.
- Wrap in clear treat bags with a festive ribbon for edible gifts.
- Place on each guest’s plate as a holiday dinner table decoration.
Storage
- Storage: Keep in an airtight container at room temperature for up to 5 days.
- Freezing: Store baked, undecorated cookies in the freezer for up to 2 months.
- Reheat: Let frozen cookies thaw at room temperature before decorating or serving.

💡 Pro Tips
- Chill the dough fully before baking to help the cookies hold their shape.
- Use gel food coloring for more vibrant results without adding excess liquid.
- Work with melted chocolate in small batches so it doesn’t harden before you finish decorating.

FAQ
Yes, you can prepare and refrigerate the dough for up to 48 hours before baking.
Yes, the cookies will still be delicious without it, but they’ll lose some of the festive look.
Work slowly with a fine piping tip and allow each color to set before adding another layer.

Mrs. Claus Cookies
Equipment
- Mixing Bowls
- Spoon or silicone spatula
- Rolling Pin
- Snowman cookie cutter
- Round cookie cutter
- Baking parchment
- baking sheet
- Cooling Rack
- Microwave-safe bowl
- Pastry bag or piping bag
- Toothpick
Ingredients
- 1 cup flour
- 2 ounces Light butter
- ¼ teaspoon salt
- ½ cup Lily's White Chocolate
- 1 ½ tablespoons powdered sverve
- 1 teaspoon vanilla extract
- 2 tablespoons Light cream
- Food coloring red and yellow
- Chocolate chips
Instructions
- Melt the butter in the microwave, mix with powdered sugar and salt. Add vanilla extract and cream. Pour in flour in parts. First, mix the dough with a spoon. Transfer the dough to a board sprinkled with flour and knead until smooth.
- Divide the finished dough into 4 equal parts. Form the cookies directly on the baking parchment. Roll each part of the dough into a ball and roll these balls into 1/4-inch-thick layers. Use a snowman cutter to form the base of Mrs. Claus. Trim the cookies with a round cutter.
- Cut out snowflakes from the remaining dough and roll snowballs. Leave the board with cookie blanks in the refrigerator for 40 minutes. Bake in the oven at 374 F until lightly browned, about 10 minutes. Cool the products. Melt some of the chocolate and color it red. Draw the outline of the hats and fill the hats with chocolate.
- Melt the remaining chocolate. Draw hair and eyebrows. Secure the eyes with chocolate chips and the mouth of the valentine. Color the remaining chocolate yellow. Use a pastry bag to apply glasses. Poke a hole with a toothpick and draw glasses. Cool the cookies in the refrigerator for 30 minutes. Snowflakes can be covered in chocolate and sprinkled with sprinkles or served as is.
Disclaimer:
Any nutritional data I provide is an approximation and actual dietary information can vary based on ingredients and proportion sizes.