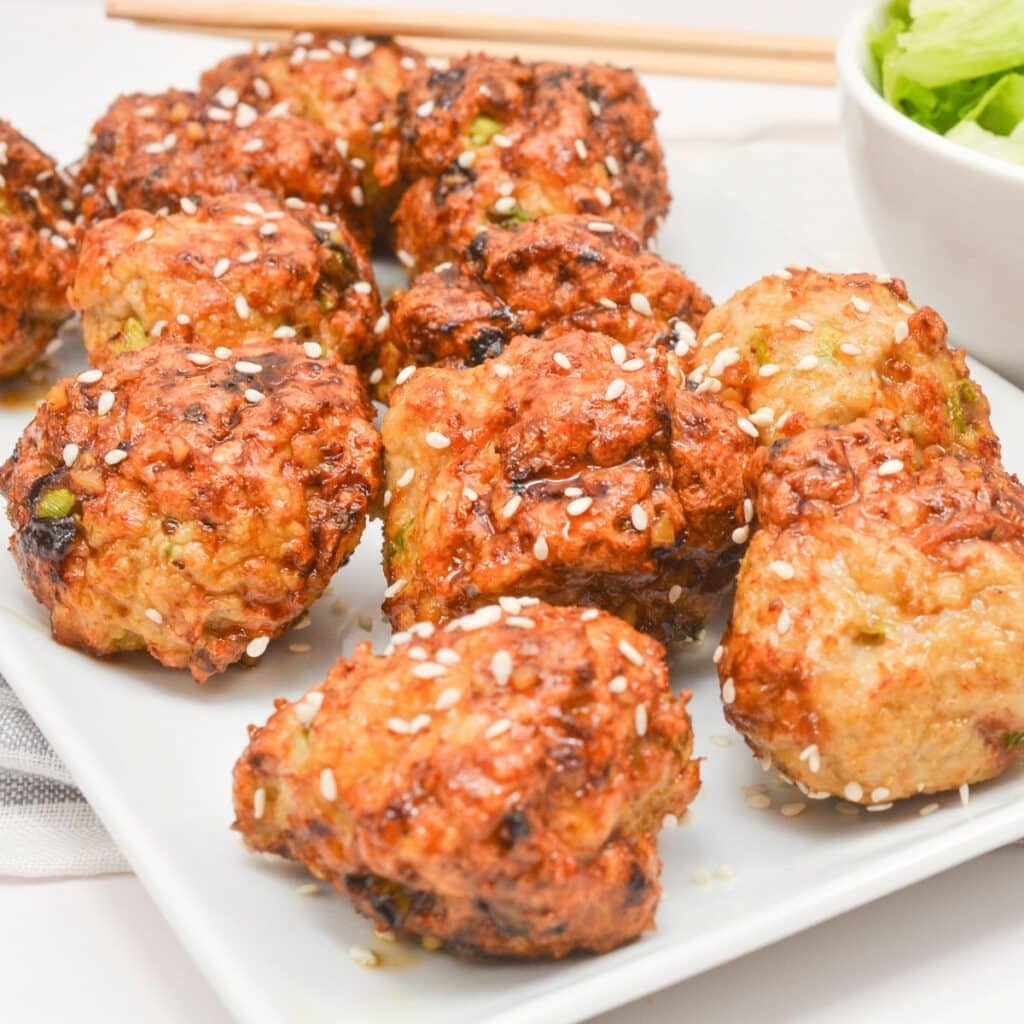
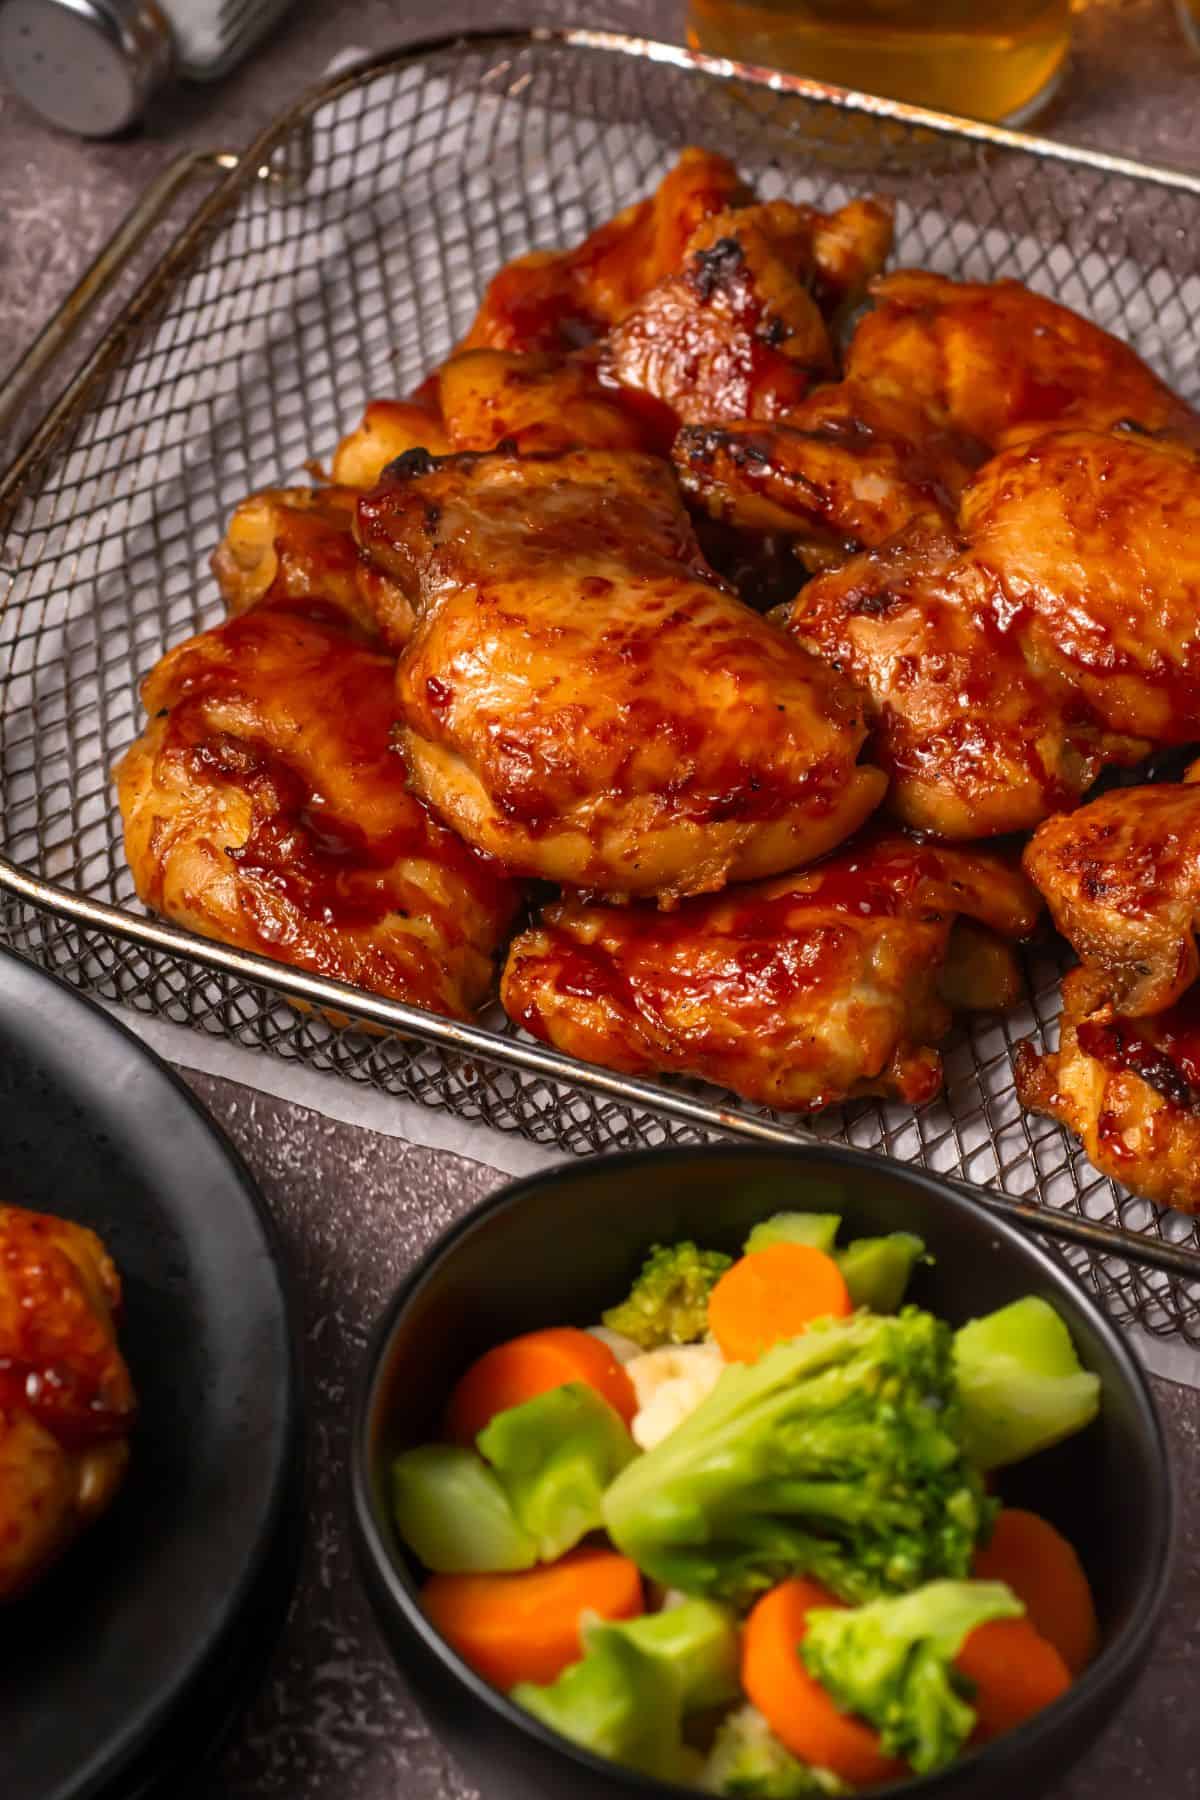
Air Fryer BBQ Chicken Thighs
I love how easy this one is. This Air Fryer BBQ Chicken Thighs recipe comes out juicy, flavorful, and lightly crisp on the outside with that sticky BBQ finish. It is simple, lower in sugar, and great when I want something filling without a lot of effort.
This is one I make all year, but it is especially good during summer when I want that BBQ flavor without firing up the grill. It also works great for weeknight dinners since it cooks fast and pairs easily with lighter sides.
This recipe was inspired by my Air Fryer Cajun Chicken, and I like serving it with Sauteed Cabbage and Onions for a simple, balanced plate.
Recipe Summary
- 🍽️ Course: Main Dish
- ⏱️ Cooking Time: 30 minutes
- 🍴 Servings: 6-8
- 🧄 Flavor Profile: Smoky, savory, slightly sweet
- 🍚 Best Served With: Veggies, salads, light sides
- 🧊 Make Ahead?: Yes, this mushroom side dish reheats beautifully and is great for meal prep.
Why You’ll Love This Recipe
- It uses simple pantry spices and a low sugar sauce.
- The air fryer keeps the chicken juicy without extra oil.
- It is an easy way to get BBQ flavor fast.
- The batch cooking makes it great for families or meal prep.
- It works with a variety of lighter sides.
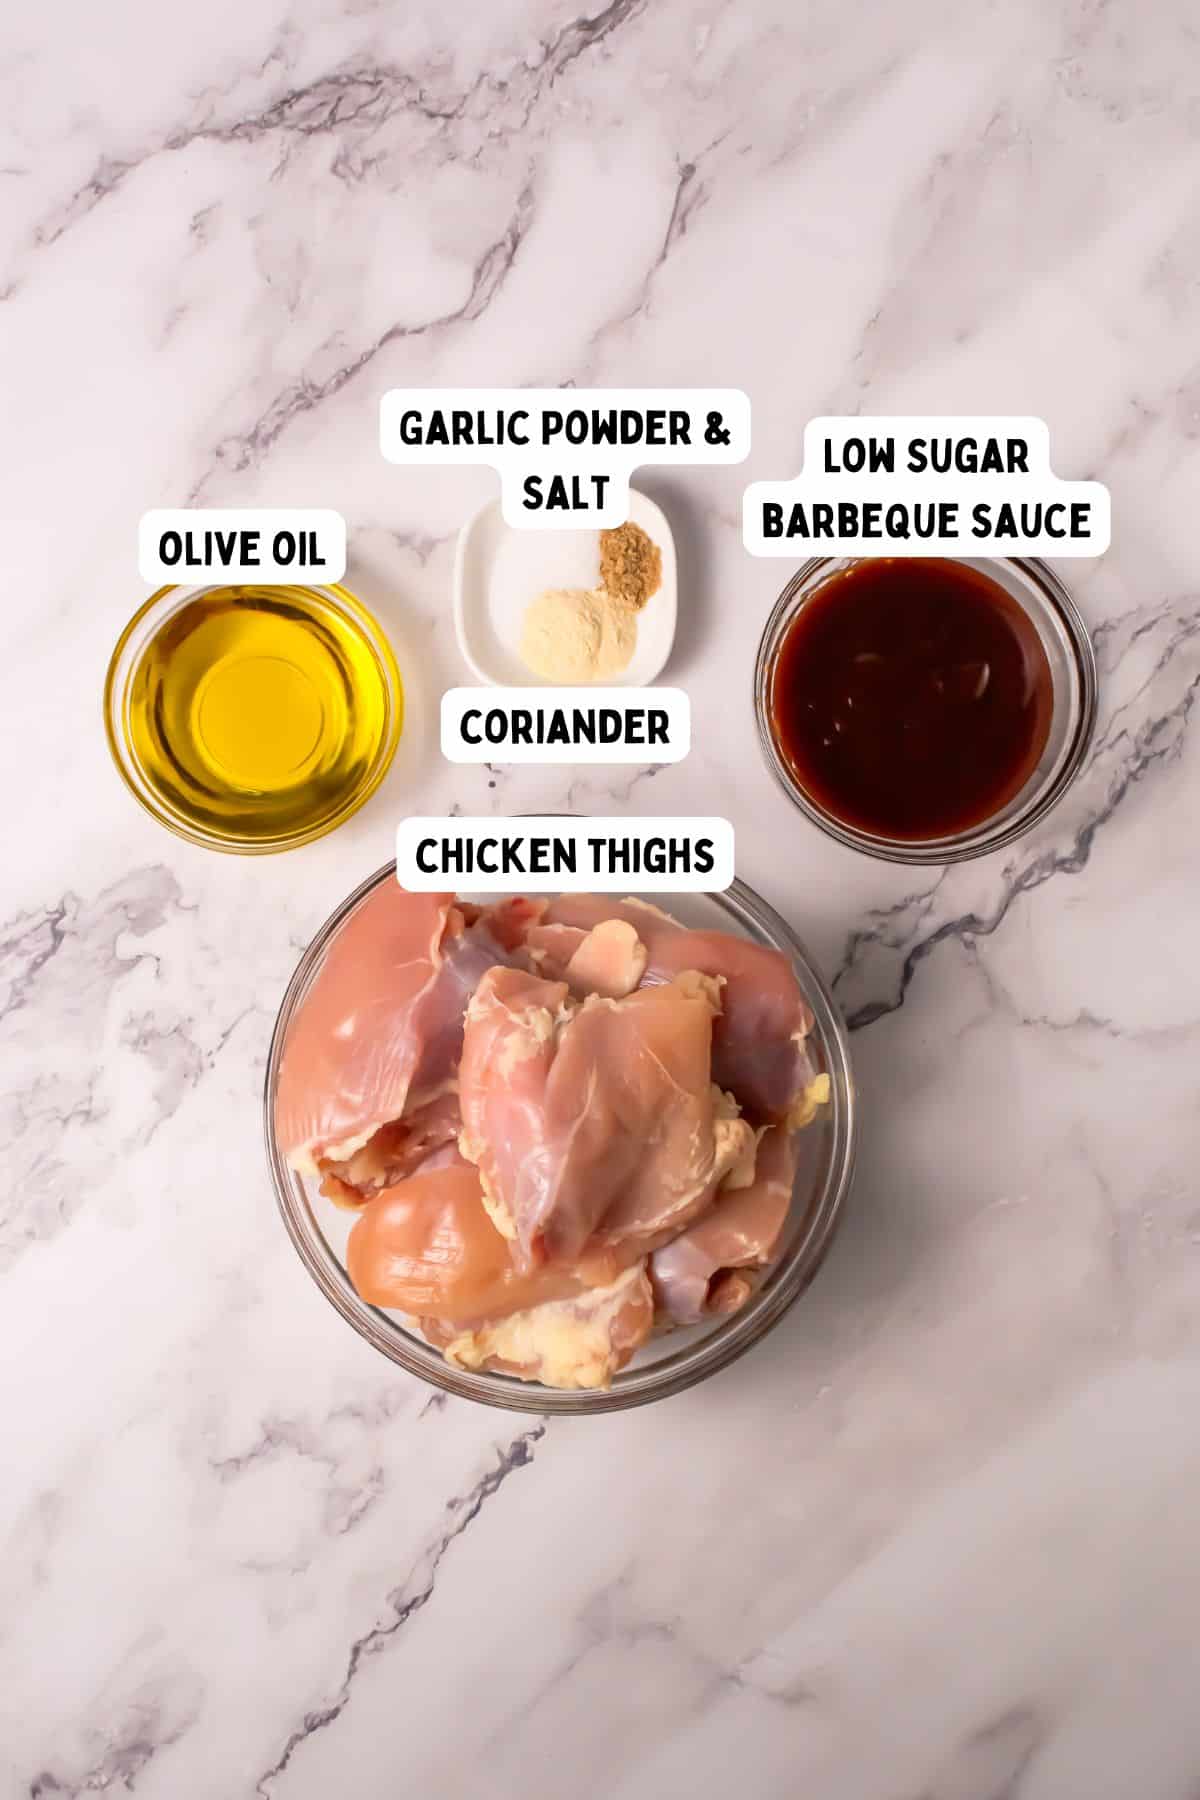
Ingredients
Recipe Tips
- Let the chicken sit with the seasoning for a few minutes before cooking. This helps the flavor soak in a bit more and gives better overall taste.
- Do not overcrowd the basket. Air flow is key for getting that slightly crisp outside. Cook in batches if needed so everything cooks evenly.
- Use a low sugar BBQ sauce to keep this recipe lighter. It still gives that classic flavor but keeps the calories more balanced.

Air Fryer BBQ Chicken Thighs
Equipment
- Air Fryer
- Small Mixing bowl
- Measuring spoons
- Tongs
- Pastry brush
- Non-stick cooking spray
Ingredients
- 2 pound chicken thighs
- 4 tablespoon olive oil
- 1 teaspoon coriander
- 1 teaspoon salt
- ½ teaspoon garlic powder
- ½ cup Low Sugar barbeque sauce plus more for serving
Instructions
- Step 1: Preheat the air fryer to 375°F. In a small bowl, mix together the olive oil, coriander, salt, and garlic powder.

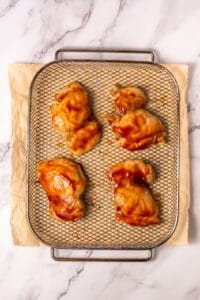
- Step 2: Add the chicken thighs to a large bowl, drizzle with the oil mixture, and toss well to coat. Let them sit while the air fryer finishes preheating.
- Step 3: Spray the air fryer basket with non-stick spray and place 4 to 6 thighs inside, leaving space between each one. Cook for 10 minutes, flip, and cook another 10 minutes.
- Step 4: Brush the thighs with BBQ sauce, cook for 5 minutes, then flip, brush again, and cook another 5 to 10 minutes until fully cooked. Repeat with remaining chicken if needed and serve warm.


Notes
- Trim excess fat from the thighs before cooking to keep it lighter.
- Use a silicone brush for easier BBQ sauce application.
- Flip gently to keep the coating intact.
- Let the chicken rest for a few minutes before serving.
Storage Directions
- Refrigerator: Store in an airtight container for up to 2 days.
- Freezer: You can freeze cooked chicken thighs for up to 2 months. Let them cool fully before storing.
- Reheat: Reheat in the air fryer at 350°F for 4 to 6 minutes or until warmed through.
- Make Ahead: Season the chicken ahead of time and store in the fridge until ready to cook.
Disclaimer:
Any nutritional data I provide is an approximation and actual dietary information can vary based on ingredients and proportion sizes.
Nutrition
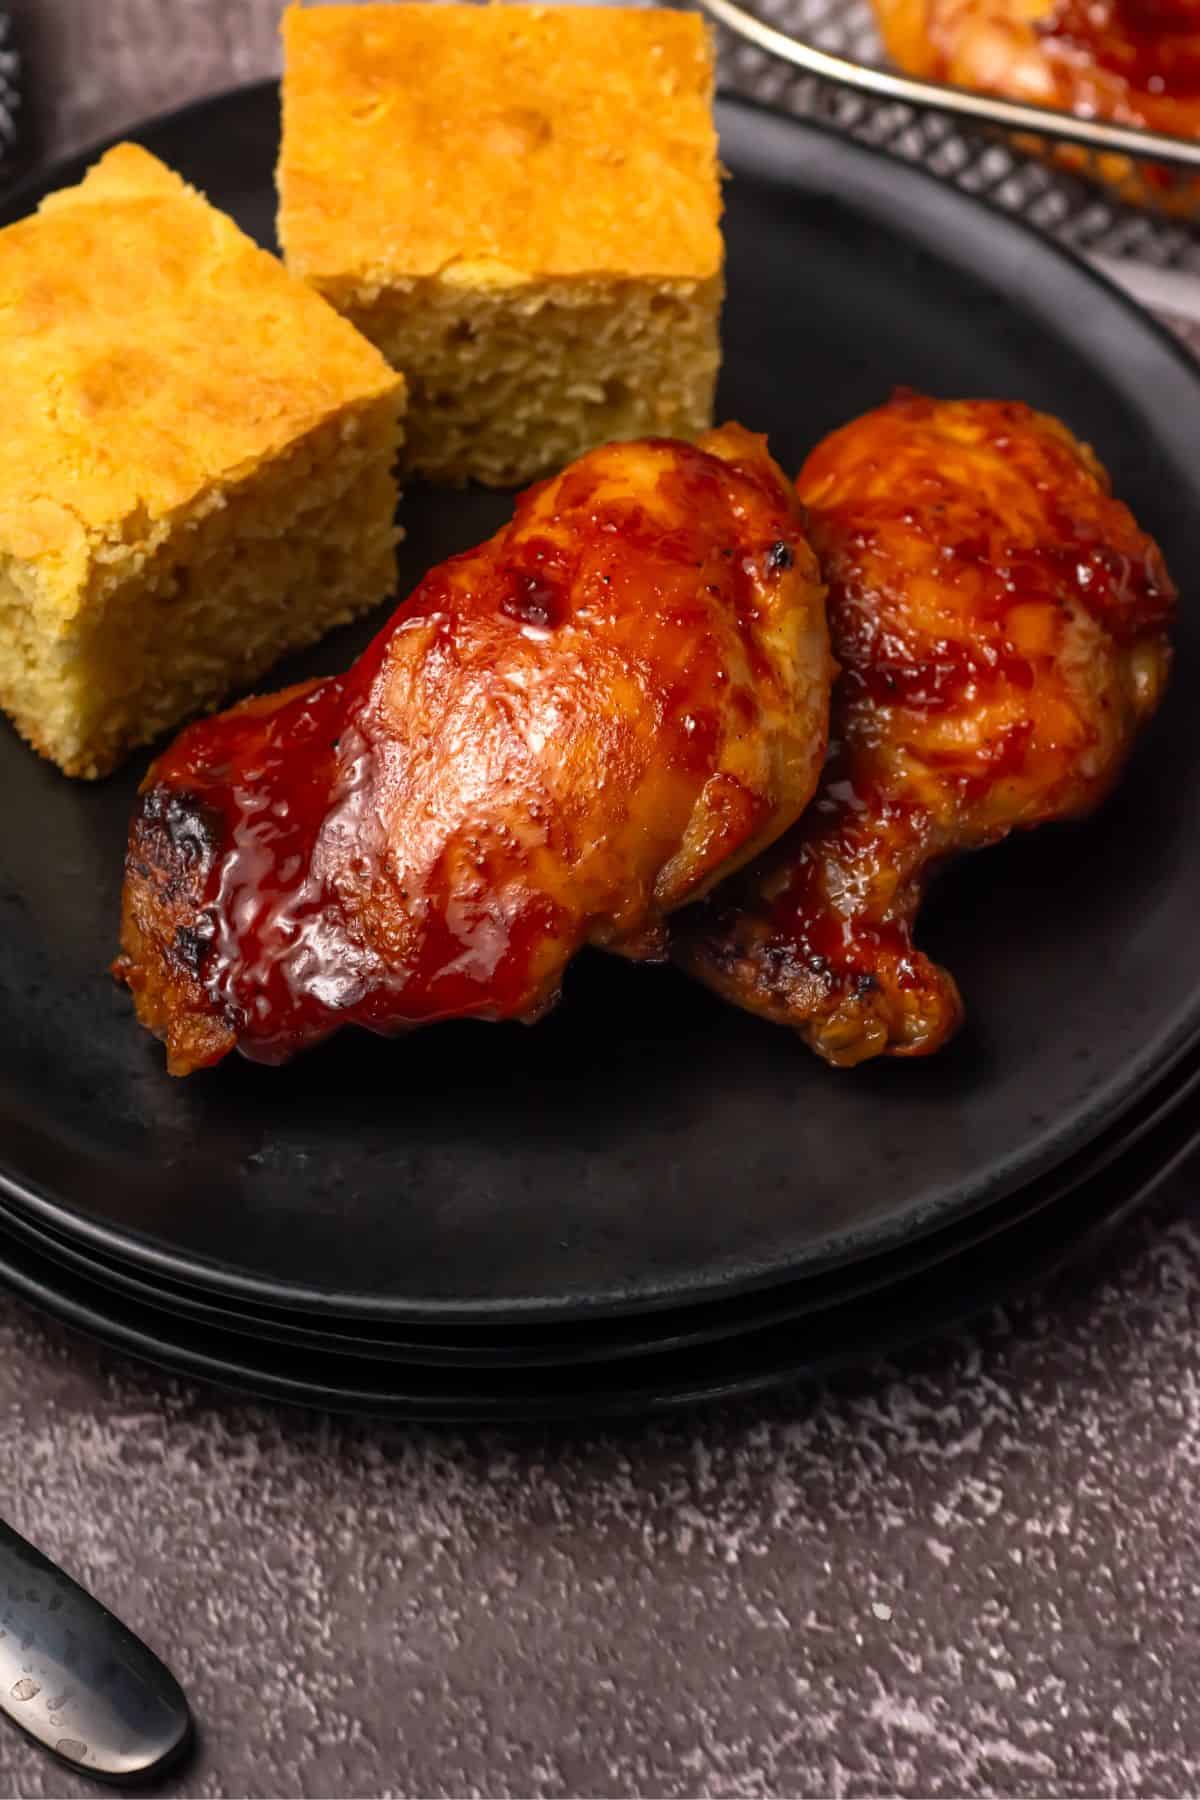
Serving Suggestions
- For a balanced dinner, I like to serve this with Air Fryer Broccolini and Collard Greens Salad. It keeps the meal fresh and lighter.
- For a comfort-style plate, I pair it with Lemon Buttered Noodles and Sauteed Cabbage and Onions. It is simple but still filling.
- For a meal prep option, I serve it with High Protein Pasta Salad and Beet Root Salad. It holds up well and stays balanced.
- For a lighter plate, I pair it with Antipasto Chopped Salad and Air Fryer Gnocchi. It adds variety without being too heavy.
- For dessert, I keep it simple with No Bake Mini Cheesecakes. It is a nice lighter finish.

Recipe FAQs
Yes, just reduce the cook time slightly and check early for doneness.
Add it toward the end so it does not burn and stays sticky.
The internal temperature should reach 165°F and the juices should run clear.