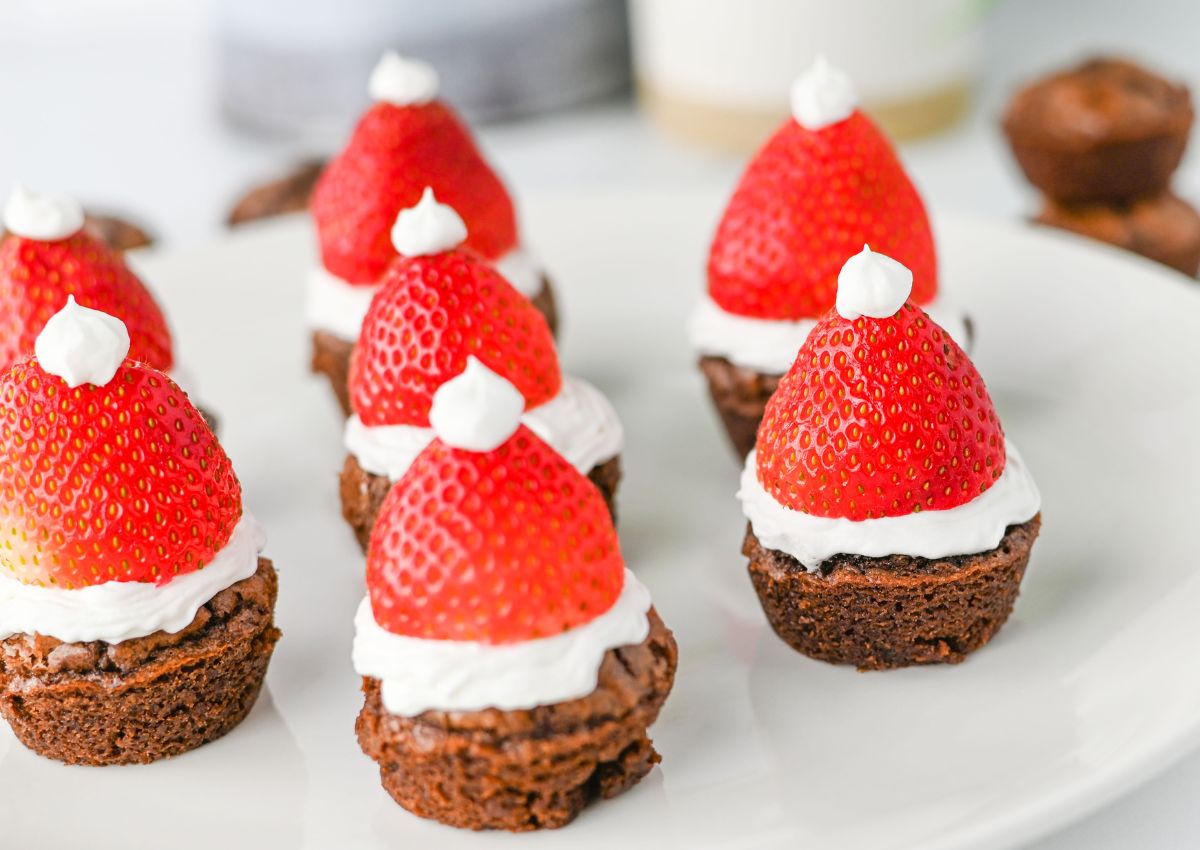
Santa Hat Brownie Bites
These Santa Hat Brownie Bites are my go to when I need something cute and festive without spending my whole night in the kitchen. They taste rich and chocolatey even though they’re totally low effort. And the strawberries make them look fun and bright in a way that just makes people smile.

I love these little bites because they look fancy, but honestly, they take barely any energy. I’ve brought them to holiday parties where people assumed I spent hours piping frosting, and I just laughed. They’re sweet but not heavy, which I appreciate when every December treat feels like a sugar avalanche.
The whole vibe is chewy brownie plus juicy strawberry plus creamy Cool Whip. Simple stuff that works every single time. And it’s the kind of recipe you can make while your brain is already fried from wrapping presents.
I make them whenever I want something festive that won’t have me scrubbing bowls all night. They disappear fast too, so maybe make a double batch.
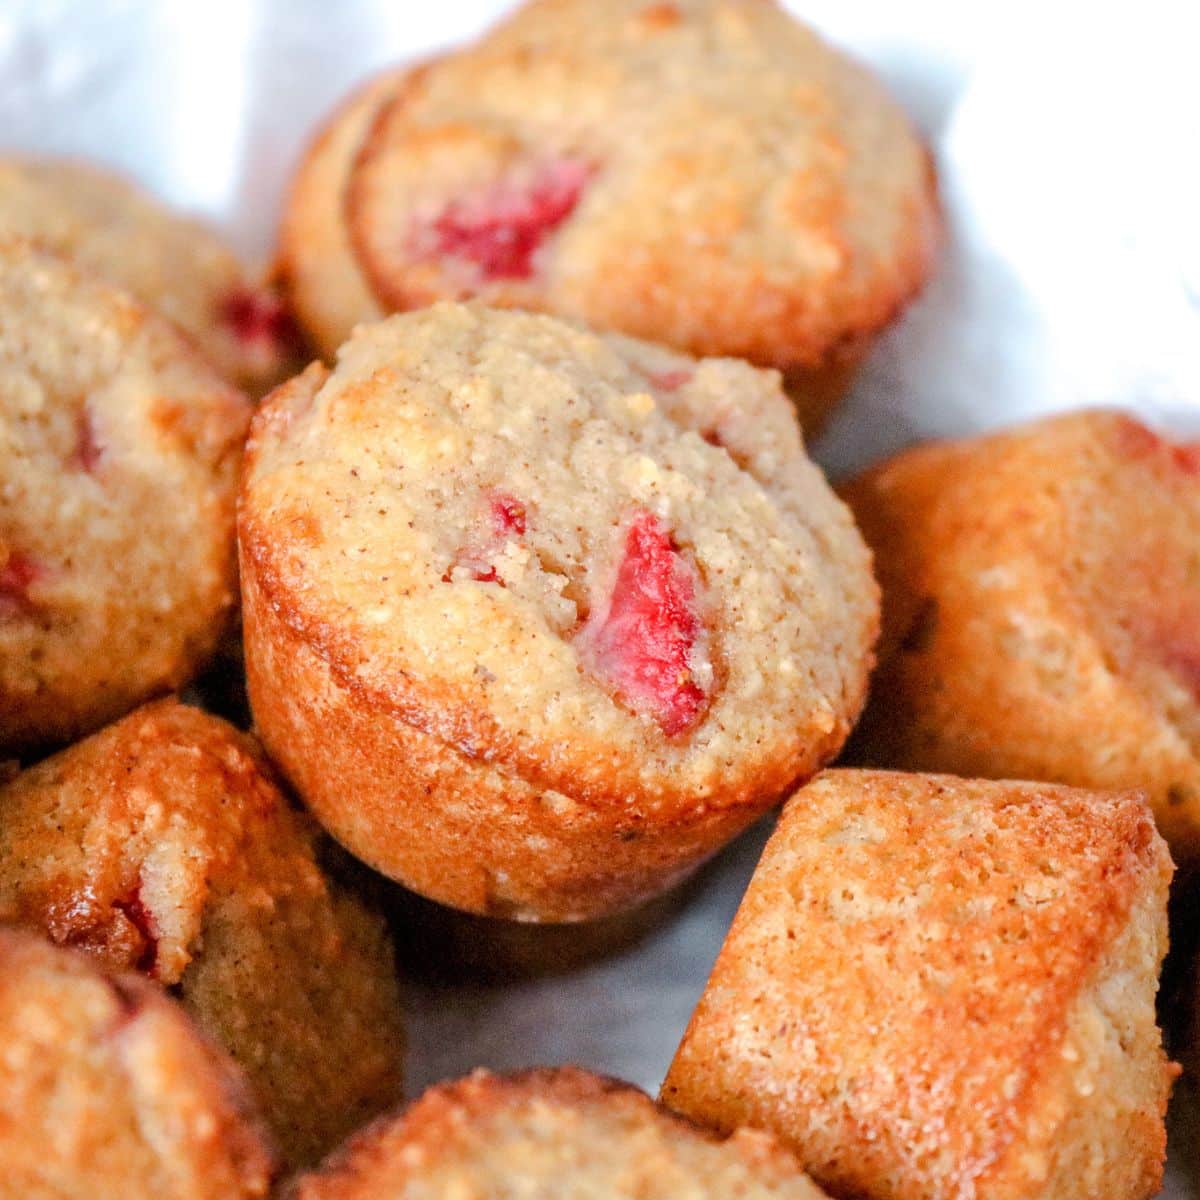
If you love all things strawberry, then you should try these Frozen Chocolate Dipped Strawberries or even these Strawberry Mini Muffins.
Recipe Essentials
- 🍽️ Course: Dessert
- ⏱️ Cooking Time: 14 minutes
- 🍴 Servings: 24
- 🧄 Flavor Profile: Fudgy, fresh, lightly sweet with a cool, creamy bite.
- 🍚 Best Served With: Pairs great with lighter holiday treats like Ginger Molasses Cookies or No Bake Mini Cheesecakes.
- 🧊 Make Ahead?: Yes. Bake ahead, assemble right before serving.
Ingredients

- Pillsbury Sugar Free Brownie Mix: This mix keeps things easy and gives you that classic brownie texture without a ton of sugar. It bakes up chewy in the center with those slightly crisp edges I weirdly love. Works great for mini muffins because it holds its shape.
- Water: Just enough to bring the batter together so it isn’t too thick. It helps the mix blend smoothly without overworking it. Nothing fancy, but it matters.
- Oil: Gives the brownies their tender bite. I’ve tried swapping it but oil honestly gives the best texture here. It helps the brownies stay soft even after cooling.
- Egg: Helps the brownies rise a little so they don’t end up dense. One is all you need. It also brings the batter together so everything stays consistent.
- Strawberries: Fresh and medium sized works best so they sit neatly on top. I love the juicy pop they add. Make sure to cut the tops off clean so they sit flat.
- Sugar free Cool Whip: Light, fluffy, and super easy to pipe. It holds its shape surprisingly well on chilled brownies. Makes the cute hat look without any heavy frosting.
See the recipe card below for the exact quantities of each ingredient.
Instructions

- Step 1: Mix the brownie batter by stirring together the sugar free brownie mix, water, oil, and egg until smooth.

- Step 2: Scoop the batter into a mini muffin tin, filling each cup about two-thirds full, and bake.

- Step 3: Pipe Cool Whip onto each cooled brownie using a small star tip. Keep the swirl tight so the strawberry sits securely.

- Step 4: Press a trimmed strawberry on top and add a tiny dot of Cool Whip to finish the hat. Chill them so everything sets nicely before serving.
Recipe Tips
- Chill your piping bag for a few minutes so the Cool Whip stays firm and pipes clean swirls. It helps everything hold up better on the brownie surface.
- Use a small serrated knife to trim the strawberries for a smooth, flat base. It keeps the hats from sliding.
- Press down any overly domed brownie tops while warm to create a flat surface for piping. Makes the whole process easier.

Variations & Substitutions
- Use a lighter dairy-free whipped topping if you need it. It keeps the calories low and still gives that fluffy finish.
- Choose smaller strawberries so the bites stay balanced and portion-friendly. Oversized berries tend to overpower the brownie.
- Add a tablespoon of plain Greek yogurt to the batter if you want extra moisture without a big calorie jump.
Serving Suggestions
Storage Directions
- Storage: Keep them in an airtight container in the fridge. The Cool Whip stays firm and the brownies stay soft for about 2 to 3 days.
- Freezing: You can freeze the brownie bases alone, but don’t freeze them once assembled. Strawberries don’t thaw well and get mushy.
- Reheat: No reheating needed. Just serve them chilled or let them sit out a few minutes if you like them slightly softer.
Recipe FAQs
Yes. You can bake the brownie bites a day ahead. Just assemble with strawberries and Cool Whip the day you serve them.
You can, but it won’t hold its shape as long. Cool Whip stays stable longer on the brownie.
No. You can spoon the Cool Whip on, but the piping gives a cleaner look. A zip top bag with the corner snipped also works.
More Cookie Recipes


Santa Hat Brownie Bites
Equipment
- mini muffin tin
- mixing bowl
- Rubber Spatula
- Oven
- Piping bag with small star tip (or plastic zip-top bag)
- Cutting board and knife (for removing strawberry tops)
- Cooling Rack
Ingredients
- 1 box Pillsbury Sugar Free Brownie Mix
- 3 tablespoons water
- ⅓ cup oil
- 1 eggs
- 24 strawberries medium
- 8 ounces sugar-free Cool Whip
Instructions
- Preheat the oven to 350°F.
- Add the Pillsbury Sugar Free Brownie Mix, water, oil, and egg to a bowl. Stir until the batter is smooth and fully combined.
- Divide the brownie batter evenly into the cups of a mini muffin tin, filling each about two-thirds full.
- Bake for 12–14 minutes or until the centers are set.
- Let the brownie bites cool completely in the pan, then remove them.
- Add the sugar-free Cool Whip to a piping bag fitted with a small star tip.
- Pipe a swirl of Cool Whip onto each brownie bite.
- Place one strawberry (with the top removed) onto each swirl of Cool Whip.
- Add a small dot of Cool Whip on top of the strawberry to create the “hat” tip.
Notes
- Make sure the brownie bites are fully cooled before decorating so the Cool Whip doesn’t melt.
- Use medium strawberries so the proportions look like mini Santa hats.
- If the strawberries are watery, pat the cut side dry so they stick better.
- You can pipe the Cool Whip or simply spoon it on if you don’t have a piping bag.
- For extra stability, place the decorated brownie bites in the fridge for 15–20 minutes before serving.
Disclaimer:
Any nutritional data I provide is an approximation and actual dietary information can vary based on ingredients and proportion sizes.